Pavlova is a quintessential Kiwi dessert. Named after ballerina Anna Pavlova’s tour of New Zealand around the 1920s, it used to have hotly contested origins, but has recently been accepted as a distinctly NZ creation.
The first time that I had pavlova was when we were still living in the States. My sister-in-law, Becca, researched it and made it for us. It was delicious, and I couldn’t wait to have more once we were in New Zealand.
Fast-forward to now: we’ve been here nearly 2 years and I still have not had any pavlova. While I often saw it in shops and restaurants, it just didn’t appeal to me. That changed today. We were having people over for drinks + dessert. They’re new to NZ, and I thought, “What better way to welcome them than to serve pavlova?” I’m so glad that I thought of doing this and that I overcame my fear of meringue. The result was fabulous…
It’s so easy to make. I was worried about dealing with egg whites, but to be honest, this dessert is a lot like most Kiwis that I’ve met: sweet, and not full of itself. If it has a few cracks in it, no big deal – just smear a little whipped cream over it and enjoy! Come to think of it, I believe that pavlova is supposed to have cracks.
A dessert that’s designed for cracks – now that’s something I can make.
To make pavlova, you’ll need:
- 4 large egg whites, room temperature
- 1 C castor sugar (let me know if you try it with regular sugar – I’m curious how this would turn out)
- 1 tsp white vinegar
- 1/2 T cornstarch
- 1 tsp pure vanilla extract, divided
- 1 C heavy cream
- Fresh fruit, such as kiwifruit, strawberries, blueberries, raspberries, passion fruit, etc.
Preheat oven to 275F (140C) and place rack in middle of oven. Line baking sheet with foil, and using the blunt end of a knife draw a roughly 7 inch circle, making sure not to tear the foil. Set aside.
Measure out sugar in 1 C container, and place nearby.
Whip egg whites in a medium-sized bowl (some recipes insist on a metal bowl, but I used a plastic bowl and it was fine – just make sure that it’s squeaky clean), beating with electric mixer on medium speed. Beat till whites form soft peaks.
While still beating, gently sprinkle 1 tsp of castor sugar at a time into whites. Make sure that you’re beating continuously, and don’t dump the sugar or it will deflate the whites. When sugar has all been added, stop the mixer and pull out of bowl – the beaters should form stiff peaks in the whites when you pull them out of the bowl; if not, mix a bit more until they do.
Gently fold in cornstarch and vinegar with a plastic spatula. Add 1/2 tsp vanilla and gently fold mixture again.
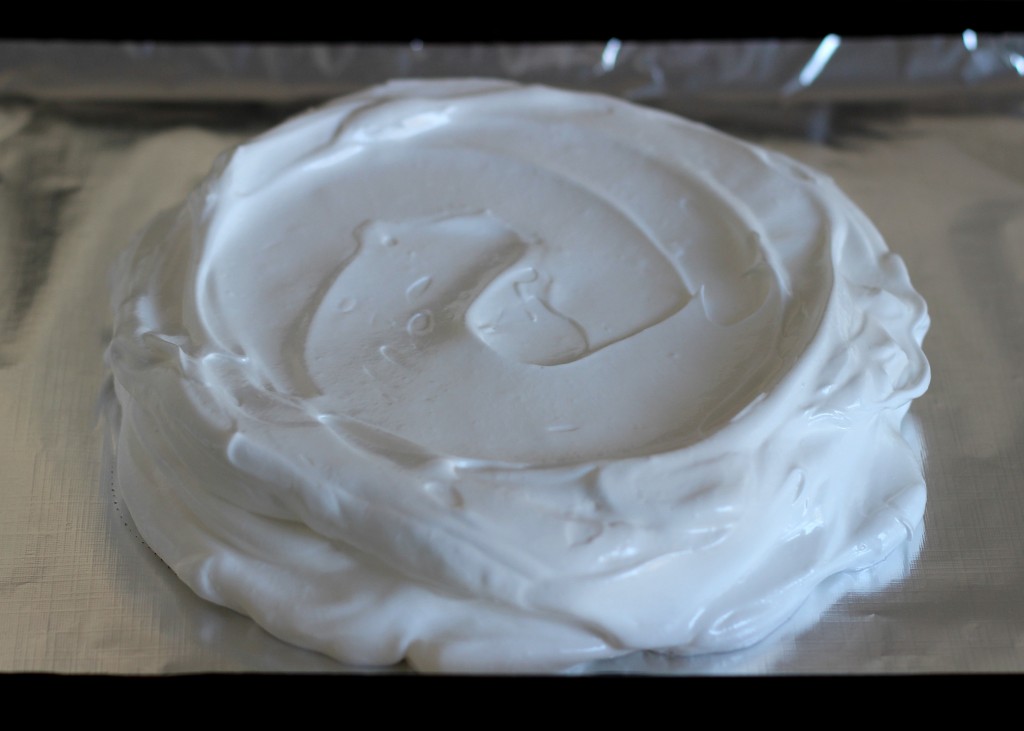
Carefully spread meringue onto foil circle, making sure that the edges are just a bit higher than the center (you want a shallow well to form):
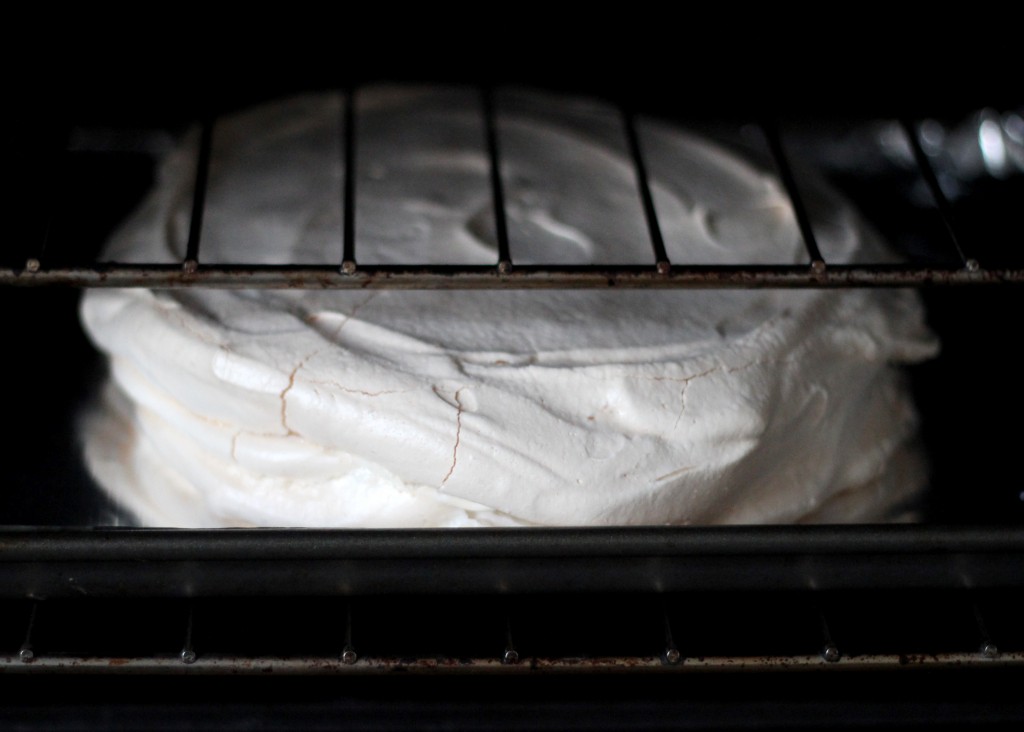
Place in preheated oven and bake for 1 hour and 15 minutes, or till meringue turns a pale, pinkish color. Don’t open the oven door while baking – observe through viewing window.
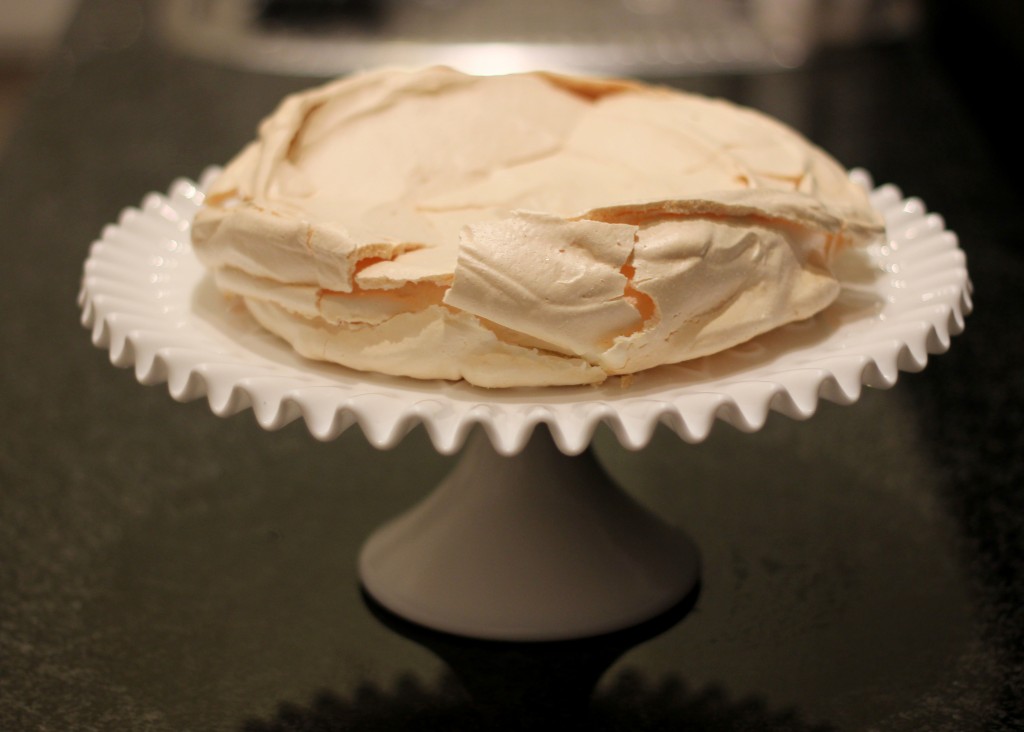
When done, leave meringue in oven and crack open the door. Allow to cool completely (takes about 20 minutes). Your meringue will crack during this time. Mine looked like this within seconds of opening the door:
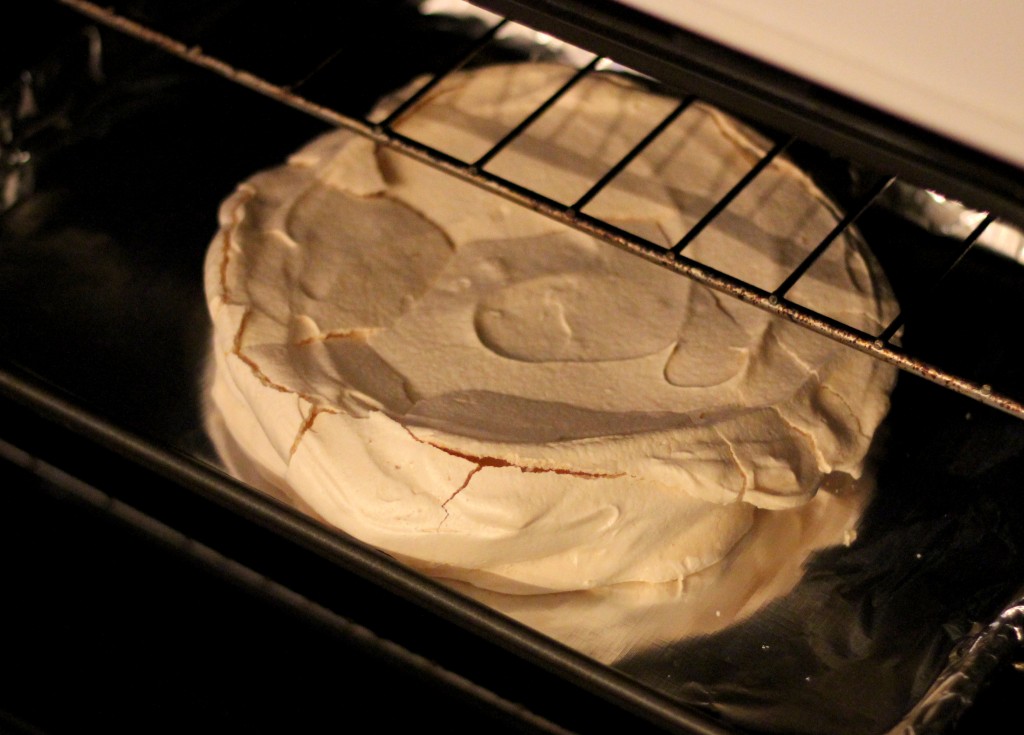
By the time it was done cooling, it looked like this:
Don’t despair! Using a spatula, gently remove from foil and place on a plate, like this:
Take whipping cream, add 1/2 tsp of vanilla, and beat till stiff peaks form – be careful, because there’s a thin line between stiff peaks and butter. Check frequently to see if beaters form peaks when pulled out of the mixture.
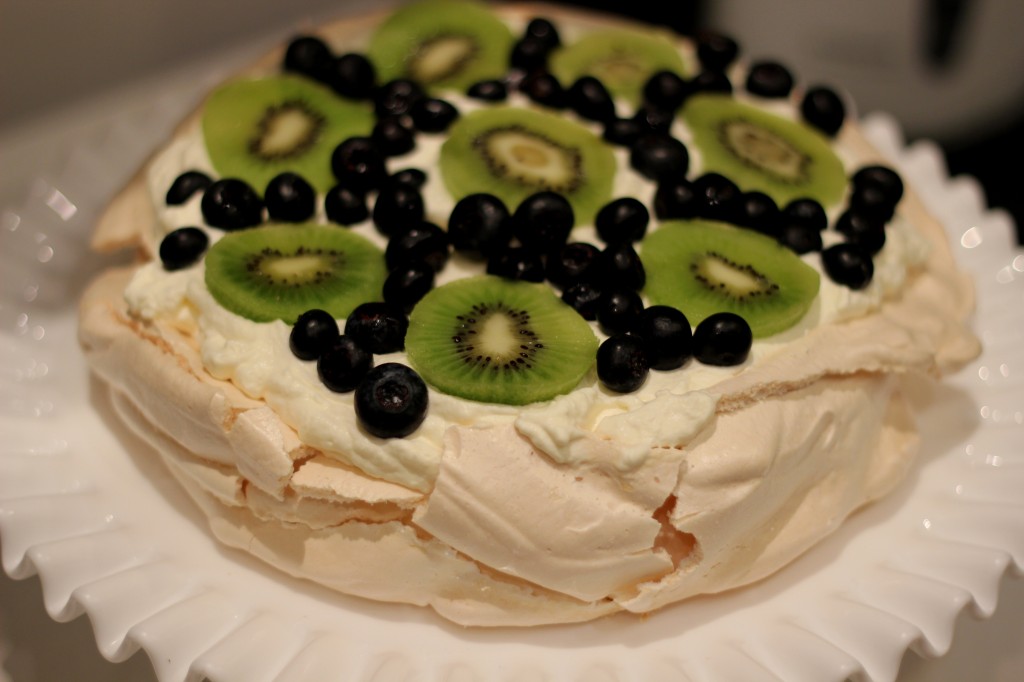
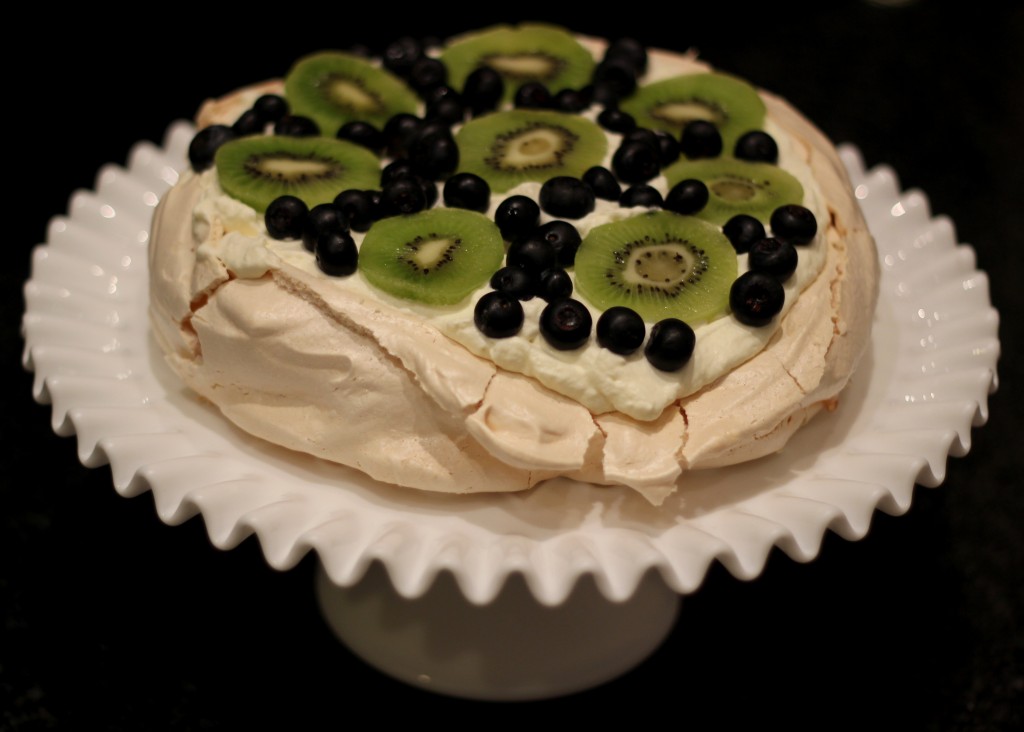
Spread whipped cream onto pavlova, then top with fruits of choice. If some pieces of meringue fell off during the pan to plate transfer, just “glue” them back into place with whipped cream.
My husband, who is not a fan of “fruity” desserts, declared this to be one of the best desserts that I’d made in a long, long time. He even ranked it up there with “Chocolate Death”, which is saying something.
Notes: Total time for this recipe is roughly 2 hours: 40 minutes of prep and about 1 hour, 15 minutes of baking. If you need the dessert by 8pm, the latest you should start is 6pm. However, you need to be sure to do a few things:
- Take the egg whites out of the fridge about 40 minutes before you’ll need them.
- Once you’re done beating the egg whites, put the clean beaters into the freezer for the whipped cream, and put a small bowl (plastic or metal) into the fridge – this makes it much easier to beat the whipped cream.
- I made this dessert for 8pm. However, at 11pm, it still tasted good. The meringue will go a bit soft, but it was still delicious. With that in mind, I would say that if you do want to make it in advance, don’t do so more than 3 hours beforehand.
Hi Heather – I’m sorry that you’ve had such a hard time with pavlovas! This was my first time making it, so I’m not sure what the difference was that made mine a success. My only advice is to keep trying 🙂
Hi – I have tried several times to make pavlova but they always end up in the dustbin! They rise in the oven and I cook them for the recommended time and leave them to cool in the oven but when I try to transfer them from the baking sheet the just fall to pieces – too much to disguise with the cream!! I follow the reciepe to the letter – ensure the eggs are at room temperature and no grainy sugar left in the mix which always looks super glossy and full of air. Any sugestions?? 🙁
It actually looks very light and a great summer treat! I had to laugh bc I too don’t like eggs.. Any part of them, and skim over recipes containing meringue but I will say it looked easy to make and yummy!
Still not as good as the one you made for us 🙂
Thank you for the tip!
Pavlovas are great to make the night before – leave it to cool completely in the oven overnight.
This makes it super when you are entertaining as it’s already to go – you just need to put the cream and fruit on (I’m a cream lover so my pavs need more than 1 cup of cream….)
Glad you tried making one – easy to make and much cheaper and tastier than the store bought one!
Cheers,
Wilm
Mmmm, looks so yummy!
Love pavlova! I made my first one a couple of months ago, and agree that it is much easier than expected – and so good.
Just don’t let the Australians hear you say it’s from NZ. 😉